Edit your Video in 3 Minutes: 5 Quick, Easy Tips for Video Editing for Beginner in Filmora
Creating videos is the easiest way to increase consumer awareness of your brand and engage customers.
Why use Filmora?
Filmora is great for a beginner and is easy to use. We recommend this to people who are new to video editing and don't need the capabilities and features of a professional package.
Note: The Free version does leave a watermark on your videos. The paid version is well worth the low cost of roughly $70.00 (for a lifetime!).
Visit their website for updated pricing: https://filmora.wondershare.net/shop/buy/buy-filmora-win-idco.html
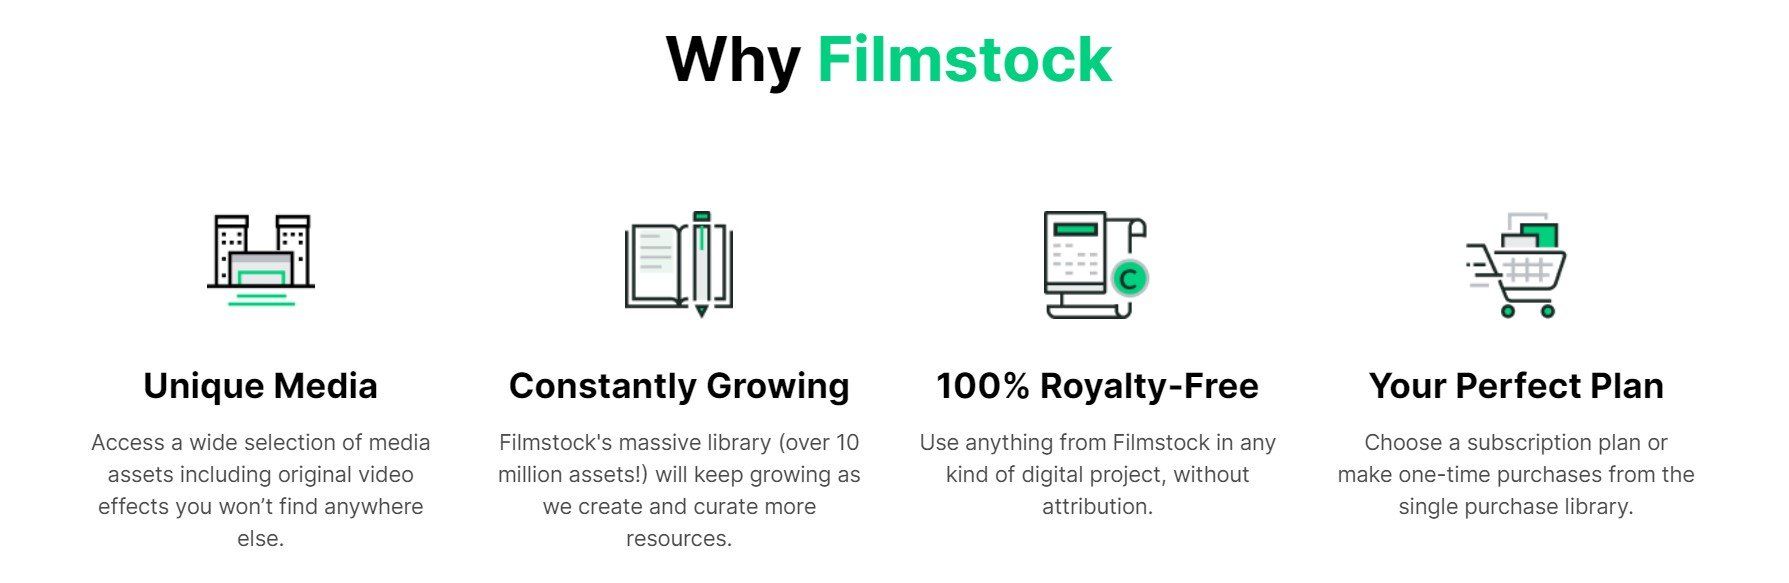
In addition to the standard video editing software Filmora also offers "Filmstock," which is added media/video's effects to add to your videos.
If you want unlimited access you will pay roughly $8.00 a month.
Here are 5 Quick, Easy Steps to get you started in Filmora (All within the Free Version).
Quick Tip # 1: Selecting and Searching Clips in the Media Library
To select a single media file: click on its thumbnail.
To select multiple media files: press and hold [Ctrl], and then click the thumbnails of the media you want to select.
To select a sequence of media files: click the first thumbnail in the sequence, press and hold [Shift], and then click the last thumbnail in the sequence.
Note: You can find a specific media file using the Search bar.

Quick Tip # 2: Deleting Media Files from the Media Library
In the Media Library, right click on the clip you want to remove and select DELETE.
Note: When you delete a video clip or other piece of media from the Media Library, you are only removing it from Filmora9 and it won't delete it from your computer or storage device.
Quick Tip #3: Adding Videos and Other Media to the Timeline
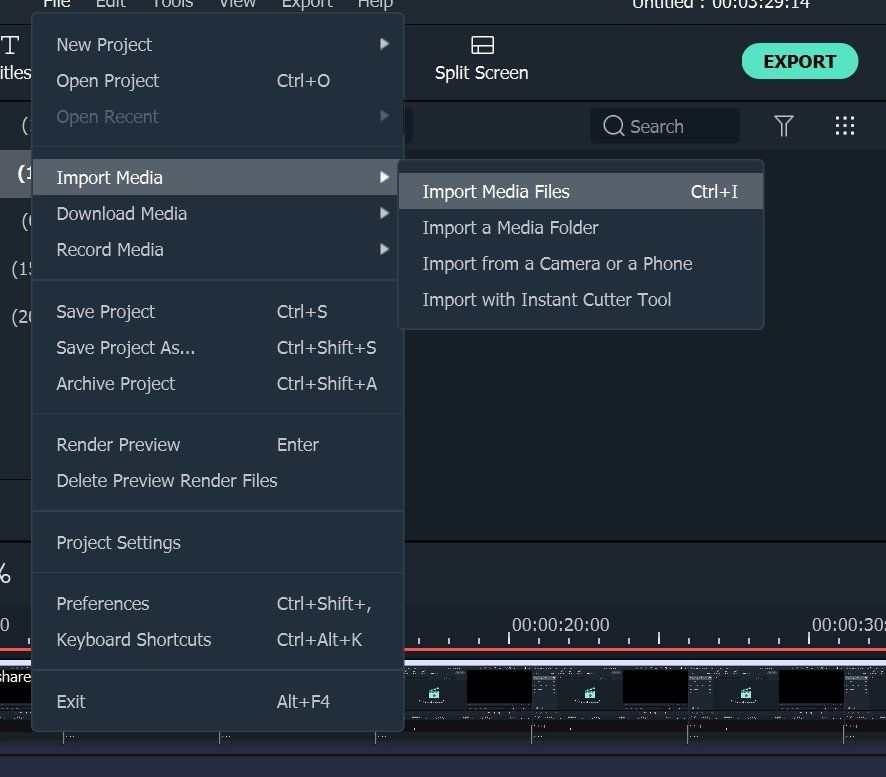
Here are two ways to add media to the timeline:
Method 1: Find the video clip you want in the Media Library. Then, drag and drop it into your timeline.
Method 2: Right click the video clip in the Media Library, and you will get:
Insert: add your media to the selected track at the playhead. Any media that is already in the track on the right side of the inserted media will move to the right by the length of the inserted clip.
Overwrite: add your media to the selected track at the playhead, and replace any media already occupying the space your added media takes up.
Append (add to the end): add your media as the last piece of media in the selected track.
Add to new track: add your media to a newly created track which has no other media.
Note: You cannot add media to tracks with Track Lock enabled.
Quick Tip # 4: Accessing Sample Colors and Sample Intro Video
Filmora includes several sample colors (still images of color) and countdown intro videos. To access these resources, click Media and choose Sample Colors or Sample Video.

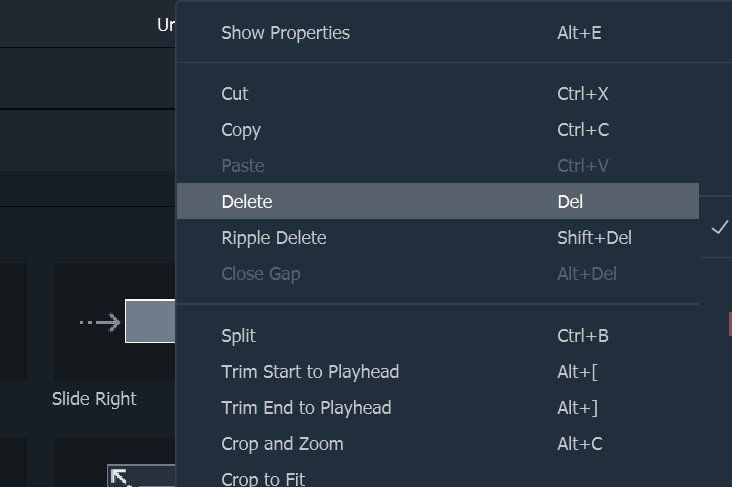
Quick Tip # 5: Deleting Clips from Timeline
To delete a single video clip or other pieces of media from your timeline, right click on the media in your timeline and select Delete, select the clip and hit the Delete icon in the toolbar, or select the clip and press the Delete key on your keyboard.
To remove multiple video clips or other pieces of media, press and hold CTRL, then select the target files. When you are done selecting, let go of CTRL and delete the items using the delete icon, the delete key on your keyboard, or by right-clicking and selecting delete.
Note: you can also drag and drop using the scissors as shown in the video.
Ripple Delete
Sometimes removing or deleting the video clips using the methods above will leave a big gap in the timeline. To avoid the gap, you can use the Ripple Delete feature.
Right click on the clip you need to remove (or hold down CTRL and select multiple pieces of media, then right click) and then select Ripple Delete to remove that clip and have the remaining media in the track move over to fill the empty space.
If you need help getting started, schedule a free
Zoom call with us. You can share your screen and ask us anything!
The Marketing How-To Blog